
How To Integrate Paystack Checkout With Only HTML, CSS & JS.
I was thrilled to write this article after integrating Paystack into one of my client’s webapp in just a few minutes .
This is cool (in Steve Jobs’ voice).
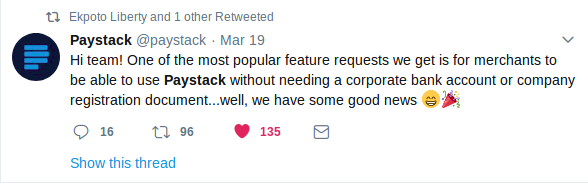
I heard the news about Paystackaccepting payments for small business who haven’t registered their business on their twitterhandle.
This has been a big problem for most developers in Africa who want to monetize their Apps and build small businesses around their ideas without going through the tedious process of business registration.
So the main aim of this tutorial is to share my little experience on how to setup Paystack Checkout on your website and start accepting payment.
Requirements
- Paystack Account.
- Your Paystack account public key.
- A little knowledge of HTML, CSS & JavaScript
Let the drums begin…
Sign Up with Paystack
The first thing is to sign up onPaystack’s website and verify your sign up using a verification link sent to your email. The next thing is tosign in to your new Paystack account. On your dashboard you will find your public and secret key. We will make use of the public key for this tutorial.
Creating Our HTML, CSS Files
Our HTML file will be the markup for our checkout page where customer pays for our product. This page will display the summary of what the customer purchased with a pay button. We also link our CSS and JavaScript file.
The key element in our index. html file is the Pay Button with on-click attribute that triggers our JavaScript functionpayWithPaystack() .

We also link the Paystack’s javascript library and our own javascript to this html file.
Like this:

Creating Our JavaScript File
JavaScript is the core of this tutorial. Create a javascript file with any name of your choice. For this tutorial we will name it app.js
Lets create our payWithPaystack() function. This function is were we finalize our payment setup before calling the Paystack’s payment modal.
Setup includes adding your public key, your customer’s email, phone number and the amount the customer is supposed to pay.
Remember to add your own Paystack public key
Note: Always add double zero to every amount a customer is supposed to pay. This is an equivalent of the Nigerian Kobo.

Lets talk about callback function.Inside this function is where we check if a customer was charged successfully or not by sending jquery post request using the transaction reference. Every transaction has its own unique key generated by the Paystack API.
After the setup, we can now use our setup to call the openIframe()function. Like this :

So our payWithPaystack() function should look like this:

If you have followed this tutorial from the beginning then its time to test our app. Open your index.html file on your browser.

Click on the pay button

Use the test card details on your browser to complete the checkout form.

For every transaction Paystack displays it on your Paystack account dashboard.
Your feedback will be greatly appreciated.
Coming Soon: How to verify payment transactions with PHP
No comments:
Post a Comment